Creating a transparent bridge in Linux is an essential skill for anyone looking to monitor or control network traffic without interfering with the flow of data. A transparent bridge operates at Layer 2 of the OSI model, forwarding packets between network interfaces without modifying them, making it invisible to the devices on the network. In this post, I’ll guide you through the process of setting up a transparent bridge using Linux, which is a powerful tool for scenarios like intrusion detection, network monitoring, or integrating security appliances such as Suricata.
Before we start building our transparent bridge, we need to perform some basic setup to prepare our environment. Netplan, which comes pre-installed on most Debian-based distributions, will be replaced by ifupdown to give us more granular control over network configuration.
We’ll also install bridge-utils, a necessary tool that enables our bridge to function by allowing multiple network interfaces to operate as a single bridge.
These steps ensure we have the right utilities in place to effectively manage and configure the network bridge.

With the initial setup complete, the next step is to gather information to configure our bridge. First, we need to identify our physical network interfaces, which can be done using the ip command. Running ip link show will display a list of all interfaces, whether they are active or inactive.
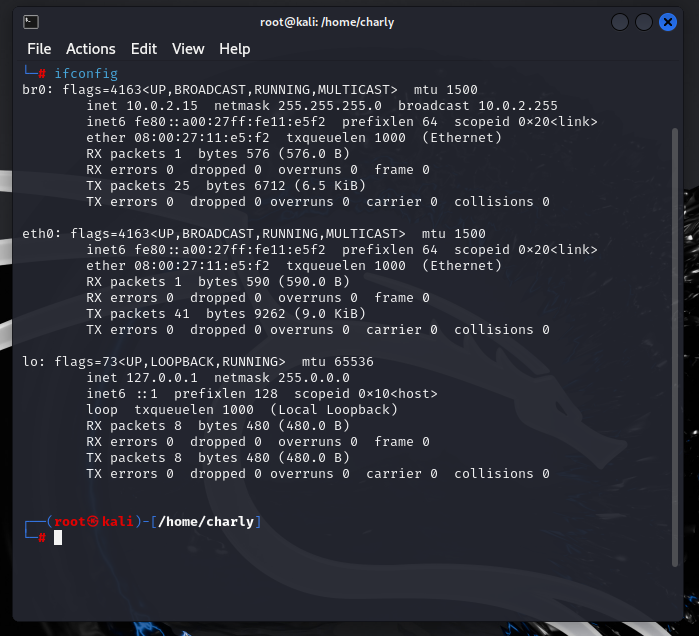
Next, we’ll use ifconfig to retrieve details such as our IP address, netmask, and broadcast address. Running ip link show helps confirm that there are no additional downed interfaces we may have missed. In my case, I found two interfaces: eth0 and the loopback interface labeled lo.

With the necessary information in hand to set up our bridge, the next step is to edit the network interface configuration file. To do this, use the vim text editor by typing. When you open the file for the first time, you’ll see only the loopback interface.

The eth0 interface is set to “manual” mode. This means it will not be automatically configured with an IP address or other settings by DHCP. Instead, it’s being used as part of the bridge configuration (br0).
- auto br0: This ensures that the br0 interface (the bridge) is brought up automatically at boot.
- iface br0 inet dhcp: The bridge interface br0 will use DHCP to automatically get an IP address, allowing it to act as the primary network interface for the machine.
- bridge_ports eth0: This connects the physical network interface eth0 to the bridge br0. Traffic coming through eth0 will pass through the bridge. Multiple physical interfaces can be chosen if more are available. i.e. eth1, eth2, eth3 etc.
- bridge_fd 0: The “forward delay” for the bridge is set to 0, meaning the bridge will start forwarding packets immediately without any delay.
- bridge_maxwait 0: This disables the wait time for network configuration (set to 0 seconds), allowing the bridge to start forwarding traffic instantly.
- bridge_stp off: Spanning Tree Protocol (STP) is turned off.

In summary, this configuration sets up a transparent bridge (br0) that forwards traffic between eth0 and the rest of the network without interference. The bridge itself gets an IP address through DHCP, but eth0 is simply passing traffic as part of the bridge, making this setup ideal for scenarios like network packet sniffing or virtual network setups


